Choosing a first professional camera body can feel overwhelming because the market spans several systems, sensor sizes and price ranges. Every major brand now ships excellent cameras, so you rarely end up with poor gear. What matters most is how a body fits your goals and shooting style.
Factors That Matter When Choosing a First Serious Camera Setup
Key Takeaways
- The camera market offers options across a wide range of needs and budgets.
- Match body features to your goals rather than chasing price or hype.
- Video and still images often demand different specifications.
- Your skill will outweigh specs; choose gear that supports your workflow.
Defining Your Photographic Goals
If you chase action, prioritize autofocus speed and high frames per second so you don’t miss the winning moment. For video work, look for support of 4K 100 fps to capture smooth slow motion and reduce rolling shutter artefacts.
Beginners benefit from versatile models. Generalist cameras let you explore landscapes, portraits, and street photography without extra cost. If you already know you want cinematic video, pick gear with advanced stabilization and low rolling shutter.
- Identify your niche early to avoid paying for unused features.
- Be honest: action-oriented photos demand different tools than static subjects.
- Balance autofocus, FPS, and sensor performance against your budget.
Understanding Essential Camera Terminology
ISO and Aperture
ISO sets how the sensor reacts to light. Setting your digital camera to 100 ISO gives a base brightness similar to old 100 film speed.
The aperture on your lens controls depth of field. A wider opening gives that pleasing bokeh and isolates subjects from the background.
Shutter Speed and Exposure
Shutter speed determines how long the sensor collects light. Use faster frame rates to freeze motion, or long times for light trails.
Exposure is the balance of ISO, aperture, and shutter speed. Mastering this triad is the quickest path to better image quality.
RAW and Aspect Ratio
Aspect ratio defines the shape of your photos and matters if you plan to print or crop for social posts.
- Many mirrorless cameras preview exposure in real-time, which speeds learning.
- Learn white balance to keep colors accurate under varied light.
Choosing a Professional Camera for Your Needs
Match the kit to your workflow and budget to get the most from each shoot.
Beginners often overspend on high-end video gear they never use. Start with an entry-level mirrorless body that covers both stills and basic video. This gives room to learn and upgrade lenses later.
Think long term. The body is only part of the system. Lenses, batteries, storage, and support gear add cost. Choose gear that accepts interchangeable lenses so you can improve glass as your work evolves.
- Prioritize ergonomics — comfort increases shooting time.
- Focus on the technical features that meet your photography goals.
- Make your final choice based on real needs, not hype.
Point and Shoot Versus Interchangeable Lens Systems
The Fujifilm X70 shows how compact cameras can still deliver strong results thanks to an APS-C sensor. It fits in a coat pocket and takes excellent images on the go.
Portability Considerations
Point-and-shoot cameras win on size and price. They are simple and quick to use for street work and travel.
Interchangeable systems cost more up front but let you buy lenses that shape your style. Over time, investing in glass raises your long-term quality more than the body does.
- Travel often? A smaller body saves space and time.
- Need variety? Lenses allow you to change perspective and reach.
- Budget matters: weigh immediate price against future upgrades.
| Type | Portability | Flexibility |
|---|---|---|
| Fujifilm X70 (point-and-shoot) | High | Limited (fixed lens) |
| APS-C interchangeable | Medium | Wide (many lenses) |
| Full-frame interchangeable | Lower | Very wide (top-quality glass) |
Mirrorless Cameras Compared to Traditional DSLRs
Removing the mirror changed how cameras work and how photographers shoot every day.
The core difference is simple: mirrorless bodies lack the internal mirror found in DSLRs. That missing part lets manufacturers make lighter, smaller bodies while still giving you a live view through an electronic viewfinder.
When you look through that EVF, you see a live video feed that previews exposure, white balance, and depth. That preview speeds learning and helps nail shots faster when you are shooting mixed stills and video.
Most pros now favor mirrorless for autofocus speed and subject tracking. Modern systems include features like focus magnification and advanced face/eye detection, which make sharp results more reliable.
- If you own many DSLR lenses, staying with a DSLR can make sense.
- For new users, mirrorless offers future-ready options and better video tools.
- Always test both types in-store to see which fits your grip and workflow.
| Attribute | Mirrorless | DSLR |
|---|---|---|
| Body size | Compact and lighter | Bulkier due to mirror box |
| Viewfinder | Electronic live video feed | Optical through mirror |
| Autofocus | Faster subject tracking | Reliable with many legacy lenses |
| Video | Superior features and preview | Good, but often less advanced |
Evaluating Sensor Sizes and Performance
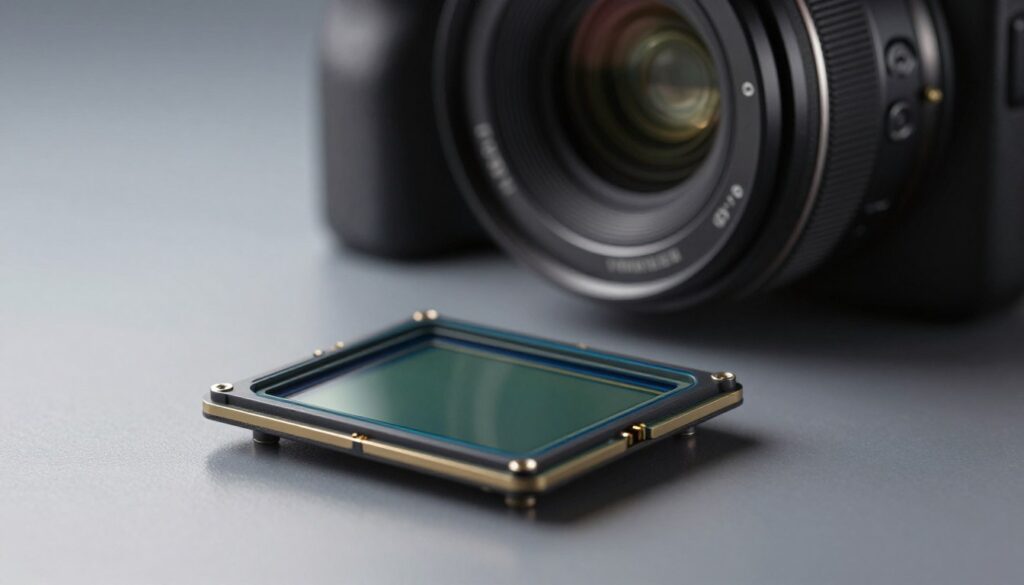
Full frame and medium format sensors deliver the best low-light performance and the shallowest depth of field. Examples like the Fujifilm GFX 100II and Hasselblad 907X show why medium format is prized for image quality. The trade-off is higher weight and much higher price.
Micro Four Thirds and APS-C
Micro Four Thirds sensors are the smallest pro option and suit hikers who need a lightweight body. APS-C sensors, like the Fujifilm XT-5 with its 40MP chip, balance size and performance well.
- Full frame and medium format: top-tier image quality, shallower depth of field, higher cost.
- APS-C: strong middle ground—good image quality with smaller bodies.
- Micro Four Thirds: light and portable, slightly less low-light headroom.
| Type | Sensor Size | Strengths | Trade-offs |
|---|---|---|---|
| Medium format | Largest | Ultimate image quality, dynamic range | Higher price, larger size |
| Full frame | Large | Great low-light and shallow depth | Heavier than APS-C |
| APS-C | Medium | Balanced performance and portability | Less reach than full frame |
| Micro Four Thirds | Smallest | Compact and lightweight | Lower low-light headroom |
The Role of Megapixels in Image Quality
Higher megapixels can wow on spec sheets, yet real-world benefits vary widely.
For most work, 20–40 megapixels hit the sweet spot. That range gives sharp images for print and web without overwhelming storage or processing time.
The Sony A7R IV with its 61-megapixel sensor shows what high resolution can offer: massive prints and generous crop latitude. But to reach that level you must use excellent lenses and manage very large files.
- Megapixels often sell gear, but they are not the sole measure of image quality.
- Higher counts increase file size and long-term storage needs.
- On some sensors, more pixels can mean more noise in low light if sensor tech lags.
Ergonomics and Physical Handling
How a body feels in your hands changes how often you shoot and how confident you feel.
The Nikon Zf is a clear example. Its retro layout puts many dials under your fingers so you can tweak shutter, ISO, and exposure without looking away from the viewfinder. That speeds work and keeps you in the moment.
Viewfinder and LCD Quality
Check both the EVF and the rear screen. Make sure they are bright, sharp, and easy to read in sunlight.
If you shoot lots of video, a fully articulating screen makes framing easier for vlogs and low-angle work. Test the menu system too — an organized interface saves time on set.
| Item | What to Check | Why it Matters |
|---|---|---|
| Grip and weight | Hold for comfort and balance | Prevents fatigue during long shoots |
| EVF/LCD | Brightness, resolution, tilt/articulation | Clear framing and better image review |
| Controls & menus | Dial placement and menu layout | Faster adjustments, fewer missed shots |
Navigating Lens Selection and Quality
Start with focal length and range that match your style. For portraits pick shorter telephoto focal lengths. For wildlife, reach matters. Test lenses on the camera body you plan to use.
Many cameras ship as kits with a basic lens, and that works while you learn. Over time, swap in higher-quality primes or zooms for better sharpness and more light.
High-end lenses cost more because build and coatings matter. They deliver consistent quality, less aberration, and better low-light performance. Your images improve significantly when you upgrade from kit glass.
Considering High ISO and Low Light Capabilities
Low light performance matters most if you shoot indoors or at dusk. A body with strong high ISO handling keeps noise low and preserves fine detail.
- Read hands-on reviews — specs hide real-world limits.
- Look for advanced noise reduction and in-body processing to protect image detail.
- Consider how the sensor performs for both stills and video; noisy footage lowers final quality.
If you work in dark venues, prioritize models that keep shutter speeds usable and let you trust the results. That choice opens more things you can shoot without added lights.
Essential Accessories for Your New Kit
Memory Cards and Storage
Also budget for external hard drives. High-resolution files fill laptops fast, and backup drives protect your work.
Tripods and Lighting
A sturdy tripod makes long exposures and sharp landscape work reliable. Look for one that supports your rig and folds small for travel.
- Carry extra batteries; video eats power.
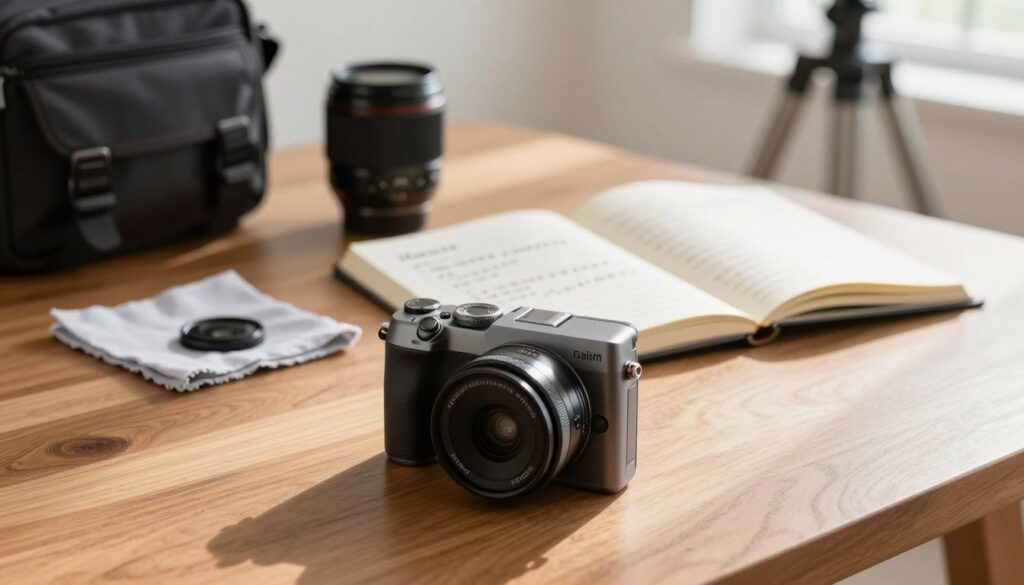
- Use a quality cleaning kit to protect your lens and sensors.
- Choose a padded bag to shield your gear on remote shoots.
Budgeting for Your First Professional Setup
A smart budget balances body, glass, and the extras that keep shoots running.
Set a realistic price window that lets you buy a quality body and one versatile lens. Many photographers spend most of their budget on the body and then lack funds for the lenses they need.
If you favor mirrorless systems, the market has many options at different price points. Mirrorless cameras now offer strong performance and useful features without forcing you into top-tier price brackets.
Think long term. Include costs for extra batteries, memory cards, bags, and the specialized lenses you will want later.
- Consider used models to stretch your budget while keeping image quality high.
- Choose a system—mirrorless or dslr—that suits your type of photography and planned shooting situations.
- Remember: skill matters more than the latest models or highest megapixels.
| Item | Entry Budget | Reason |
|---|---|---|
| Body | $700–$1,500 | Good balance of features and performance for most photographers |
| Versatile lens | $300–$900 | One zoom or prime that covers portraits and everyday work |
| Accessories | $150–$400 | Batteries, cards, bag, basic tripod |
Final Thoughts on Your Purchase
Buying gear marks a milestone, but learning will define your results much more.
Remember: every modern camera can make stunning images when you learn light, composition, and timing.
Don’t let specs or jargon stop you. Get out, shoot often, and let experience guide upgrades that match your goals.

The GBI LensLab Editorial Team publishes informational guides about cameras, lenses, image sensors, photography workflows, camera maintenance and digital imaging technology. Technical specifications are checked against manufacturer documentation and other appropriate primary sources when available.